My little girlie has had an awesome school year! She's had a great teacher that assigns the kids in her class to create creative book reports (something more than a written essay on a piece of paper). When my girl came home from school and asked if we could make a book report tshirt at first, I told her, "no" and continued on with my day. I kept the thought of a book report tshirt on the back of my mind, before I decided that we could make it happen and that it would be
Book Report Shirt:
- Black Heat Transfer Vinyl
- Printable Heat Transfer Vinyl
- Glitter Heat Transfer Vinyl
- White tshirt
- Silhouette Cameo
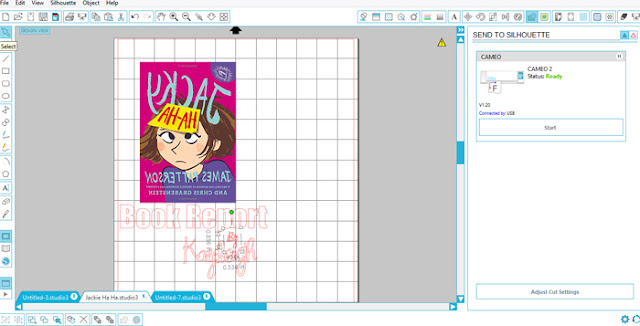
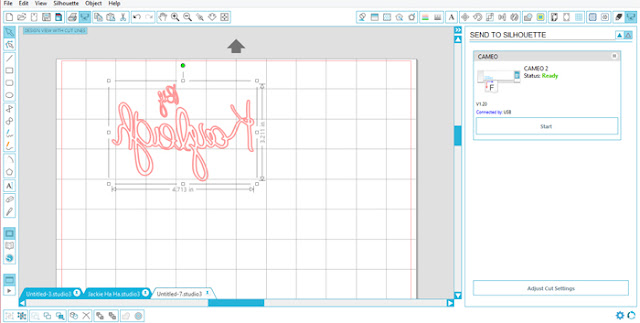
Tip: ALWAYS mirror your cut files before sending them to your Silhouette software when working with heat transfer vinyl. If you don't, you're image will be backwards when you iron it. I think that's the most important thing to remember. In the above screen shot you can see that I had mirrored the book image but not the words that go under the book. (I did mirror those images before I sent the other text to be cut.)
After I made sure the text matched and was the right size for the book cover, I removed them from the cutting mat and just printed and cut the book cover.
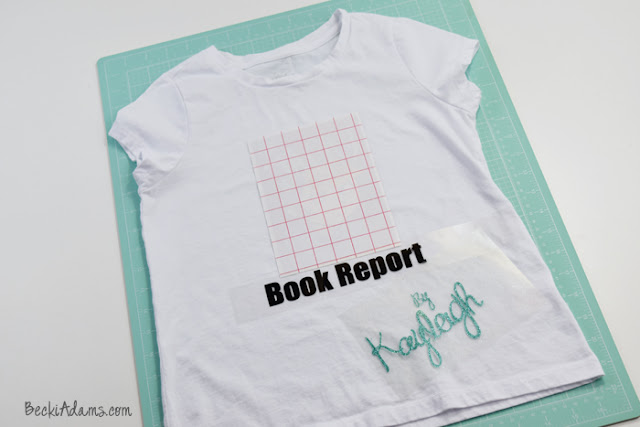
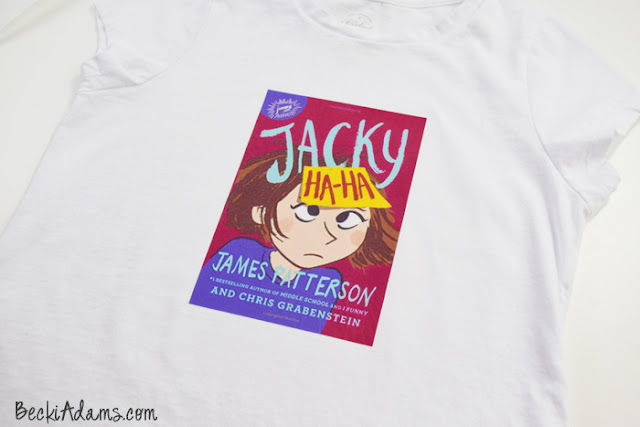
This is what the printable vinyl looked like before I ironed it to the shirt. This printable heat transfer vinyl is seriously so cool! I can't wait to create more projects with it. My head is swimming with ideas!
I kept each type of vinyl (ie. printable, glitter, and black) on separate cutting mats. It's just easier for me that way.
When my daughter had her summary written I typed it in the Silhouette software. I use a really basic font because there was so much text and we wanted it to be easily readable.
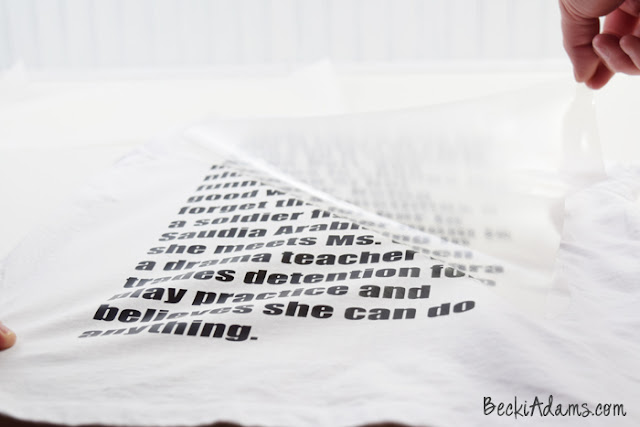
I changed the mat size for the back of the shirt to a 12x24 mat size and cut the vinyl without a cutting mat. It worked like a charm.
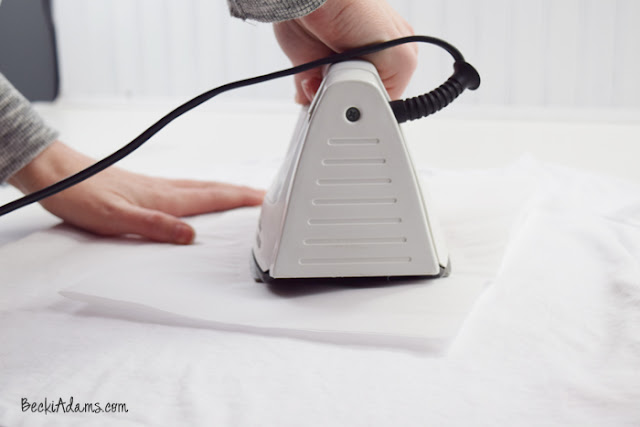
Once we had all the vinyl cut and weeded, we were ready to start ironing. I just used my iron to transfer the vinyl. I have a heat press on my wish list, it would have made this job a lot easier.
Everything fit just as I hoped it would and looked great! I added a piece of parchment paper over the vinyl. I just wanted to protect the tshirt. You could also use a heat transfer cover sheet. I had parchment paper on hand, so that's what I used.
I started by transferring the book cover first (the printable heat transfer vinyl portion). I was giddy when I saw how it turned out. It looked awesome, so much better than I could have hoped for.
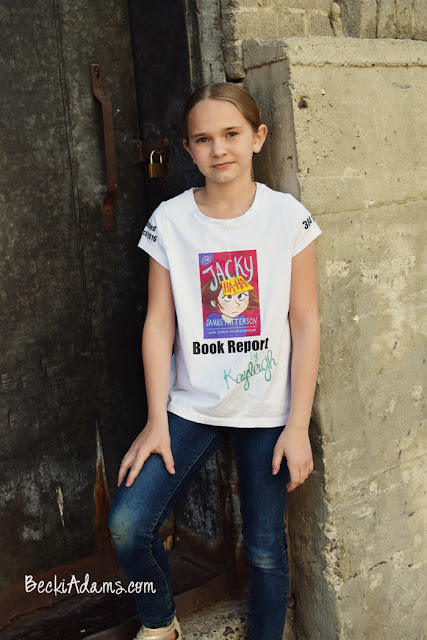
I wish you could see this shirt in real life, it's SO cute!
The back of the shirt turned out awesome too. I was worried about transferring SO many letters. It worked perfectly though.
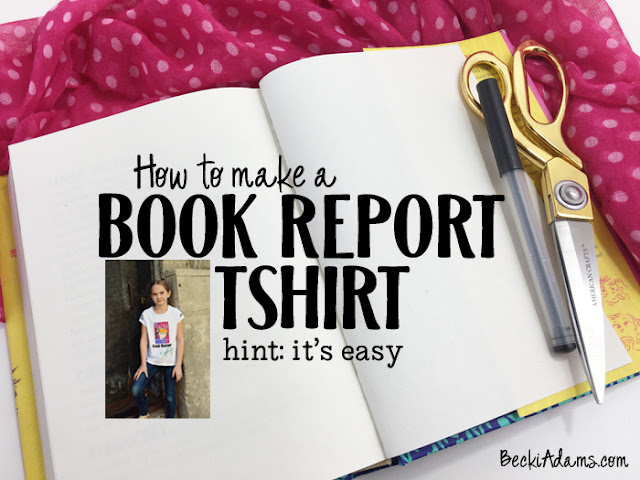
I think it's safe to say that my girlie had the best (most creative) book report in her class that day. She was so excited to wear her shirt while she gave the oral portion of her report.
Just in case you're wondering, she did get an A on her book report ;)
This entire process was a lot of work but it was easy. I'm a huge fan of creative book reports and I think we created an awesome book report shirt, my girlie was happy and that's all that mattered to me. It's always nice to get a "mom wins" moment when the kiddo is happy!
