Tuesday, September 30, 2014

You Don't Have to Reinvent the Wheel


Every once in a while I find a sketch or a design that I fall in love with. One that makes me happy every time I look at it and one that sticks in my memory. When I have one of those designs I use it again and again. For a Bella Blvd design team assignment (a long time ago) I was given this sketch.
Because using multiple photos on my layouts isn't what I usually do I often come back to this sketch. I love it. It works. Why not use it again?
This is the project I originally created with this sketch. (I created this layout with the Bella Blvd Thankful Collection Kit)


Recently I used this sketch again. Once to record my son's 5th birthday. It worked perfectly because I have one photo that I really wanted to showcase (the birthday cake photo) but then the other 3 photos supported the story I had to tell. (I created this layout with the Bella Blvd MAX Collection Kit)

This layout has hidden journaling (the tabs to the right are attached to a journaling card that pulls out from behind the photo.
The most recent layout I completed with this sketch is one that I did simply showcasing my favorite photos from our family photo shoot. (I created this layout with the Bella Blvd Collection Kit Family Forever)
 
 The point I want to make today for "Lets Talk Tuesday" is that you don't always have to "reinvent the wheel" every time you sit down to create. If you have something (a sketch, a design, a color, a certain font, a certain paper) that you love, DO IT, use it! And if you want to...do it again, and again, and again. Repeating something you love can also make the creative process easier. It takes part of the thinking out of the creative process and gets your right to the point where you can dig into that stash and simply start creating.
Is there something that you find yourself repeating? I'd love to hear about it! (click the contact me button on the right, I'd love to hear from you!)

Monday, September 29, 2014

Framed Photo Canvas Tutorial

For the longest time I've wanted a big family photo to hang in my living room. I'm sure you know that a big family photo usually comes with a big price tag. Finally, I decided that I wasn't going to wait anymore and I was going to create a big family photo to go in our living room. It started a few months ago with us taking a family photo ourselves. We took the tripod and several pose ideas that I found on Pinterest. My husband and I staged the photo following the poses that I had pinned and we used the timer and once everyone was in place my hubby ran, hit the shutter button, and then ran back into place. A lot of the photos we took weren't ones that we wanted to hang on the living room wall but we did get one good one.
With that good photo I headed over to the Tiny Prints website and ordered a 16x20 canvas. I was a little bit nervous about the quality of the canvas. I'd never ordered a canvas before and I knew  that if the canvas wasn't high quality my photo would look terrible. My worry was unnecessary. When the canvas landed on my doorstep I was so excited thrilled with how it turned out! I couldn't wait to finish the project.
 I enlisted the help of my husband to build a frame for me. (You could easily purchase a Picture Frame and eliminate the building process in this project.) I wanted to have a 4" 'mat' around the canvas print, so first he made a flat frame with outside dimensions of 27-1/4" x 31-1/4" using 1" thick x 1-5/8" wide lengths of wood.  Once this was built, he attached 4-1/4" crown molding to the flat frame, leaving 1" of the flat frame showing on all sides.  The back of the frame was made from a piece of 1/4" thick material (either MDF or Plywood will work). This piece was temporarily nailed into a 1/4" groove cut into the backside of the flat frame to hold the entire frame square while the glue dried. Once this was done, he puttied the holes and joints and then finish sanded the whole thing.

Once he was finished building the frame he also painted it for me (he's the BEST! I don't know what I would do without him!). He painted it a dark chocolate brown first
and then painted it with 3 coats of an off white paint. He distressed the edges a little bit. It was at this point that I got excited *really* excited.
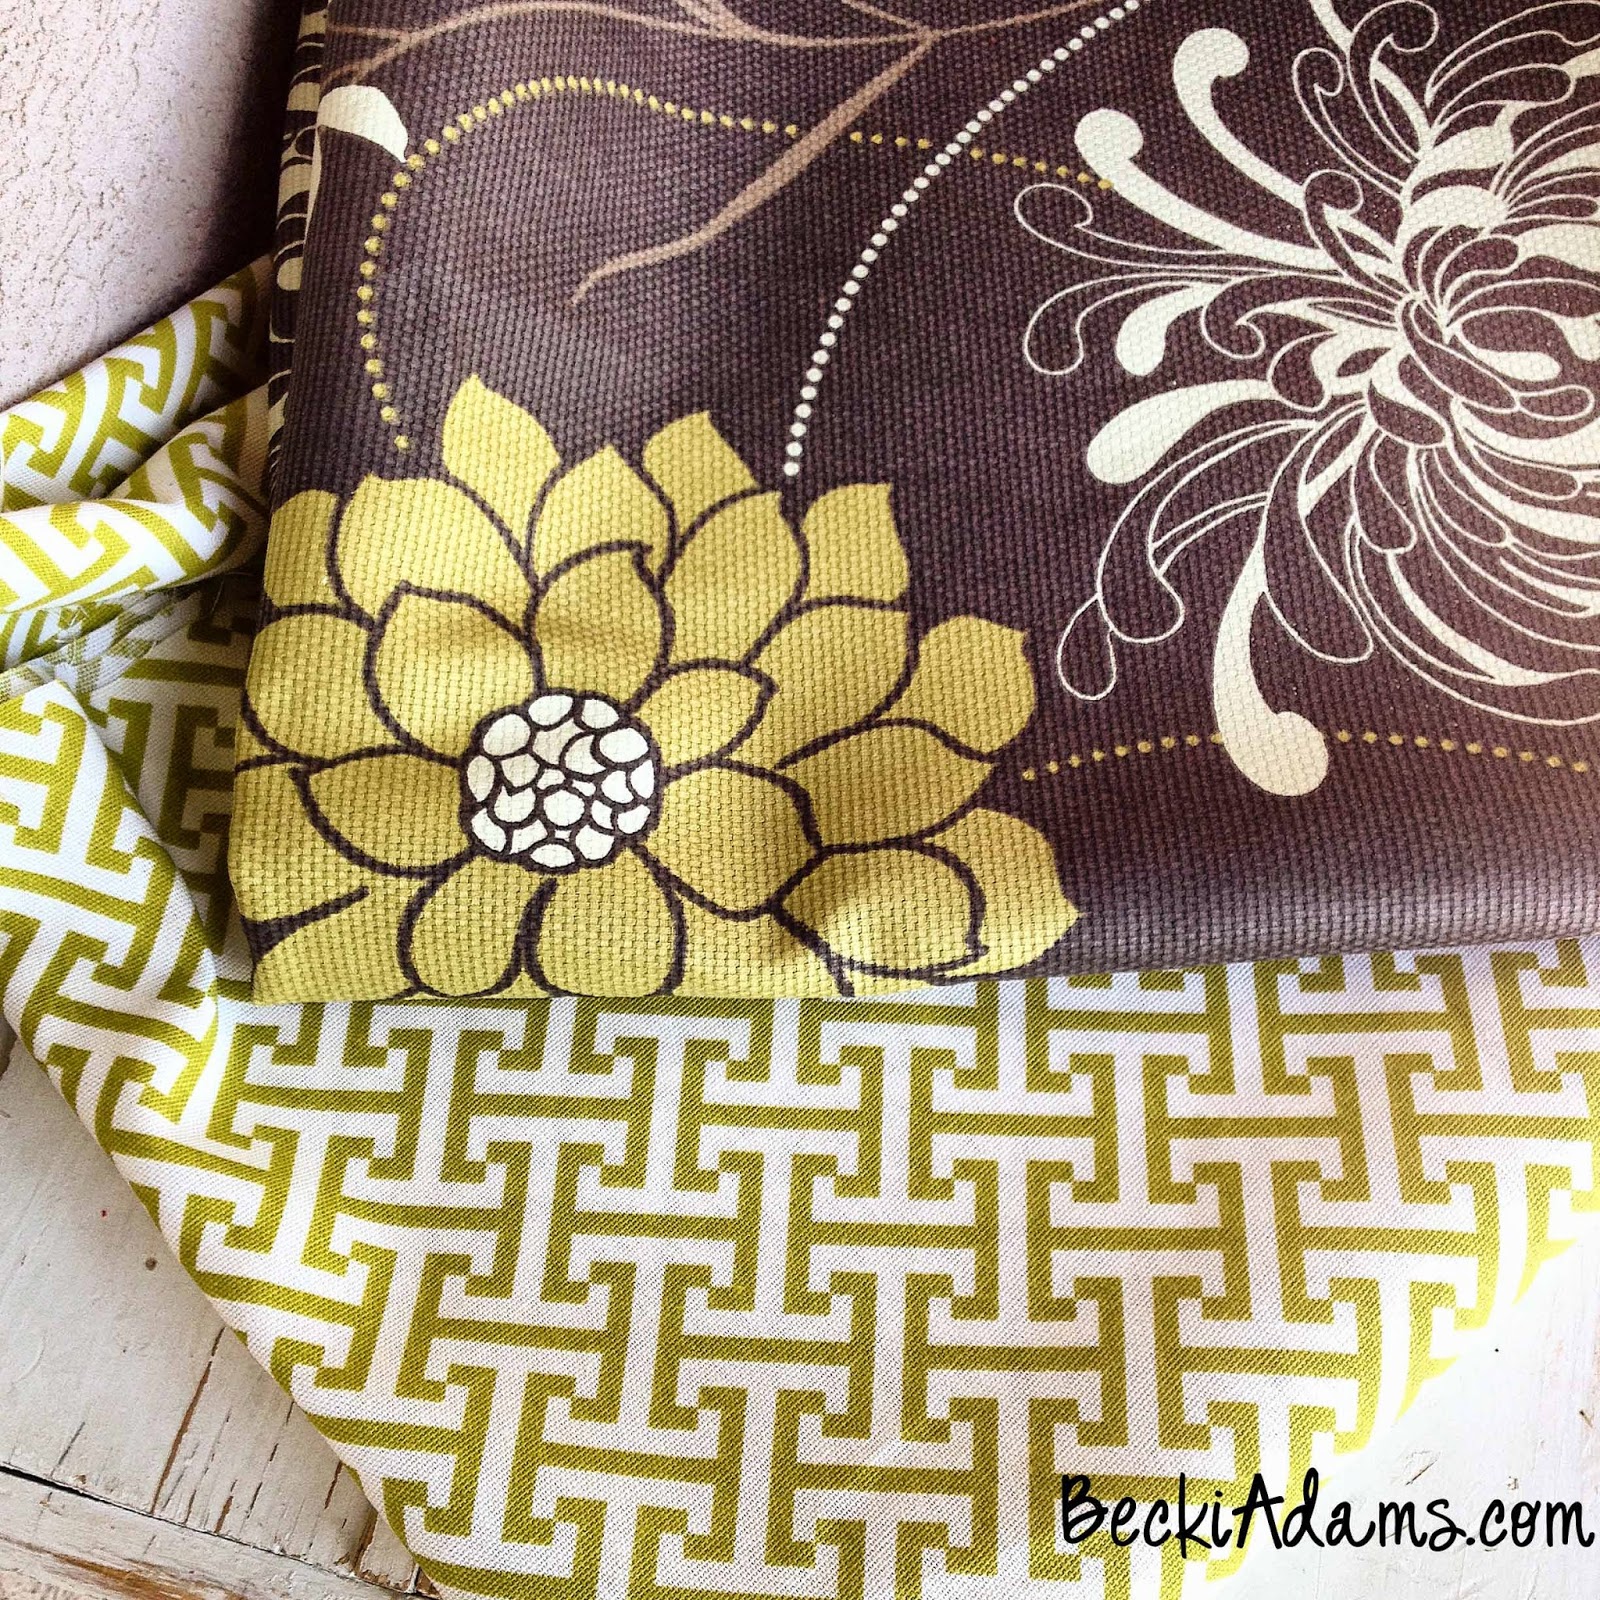
 I took the canvas with me to a local discount fabric store that sells tons of decorator fabrics for cheap. (I could spend hours in that store, it's my go to spot for decorator fabric.)
I only paid $7.99 a yard for really great quality, beautiful fabric. I actually bought 2 pieces of fabric and had a really hard time choosing which fabric I would use for this project. (I will use the other one in a future project.)
I even enlisted the help of my facebook and 
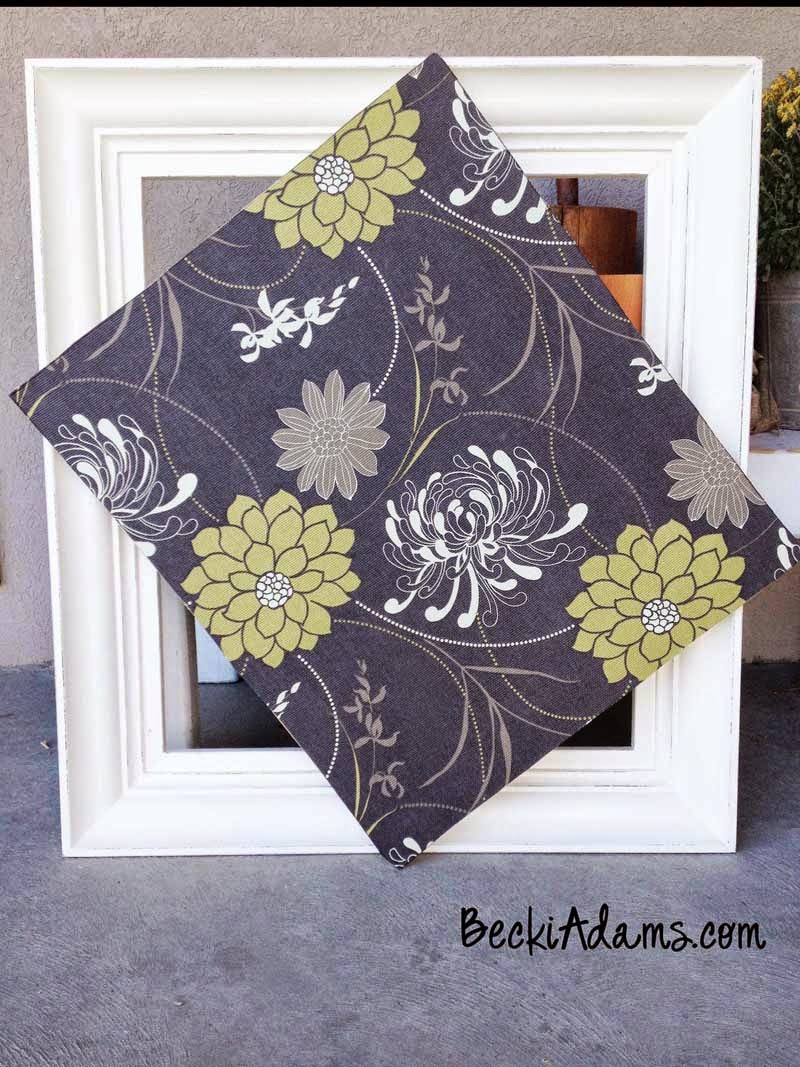
instagram friends to help me make the choice. I thought about using both fabrics, but in the end I decided to finish the project using just one fabric.
We adhered the fabric to the back of the frame with spray adhesive and then adhered the back board to the back of the frame.
*Tip: Make sure to spray the fabric AND the back of the frame with adhesive and let it dry for a few minutes before sticking them together.
 After we glued the fabric to the back of then we attached the back to the frame with 18 gauge pin nails.

And with the the project was finished...I  LOVE love LOVE it! It makes me smile every time I walk into my living room.

 It seriously makes me so happy!


Thursday, September 25, 2014

Scrapbooking Tutorial

When I first saw Shimelle's line from American Crafts my jaw dropped when I saw the amount of patterned paper that was in the collection. There was a TON! When I was asked to create some projects for her blog I knew I wanted to focus on patterned paper. You all know that I adore patterned paper and I use it on nearly everything I create. I decided to focus on using smaller bits of paper; specifically small strips of paper. For all of the projects I created the strips were smaller than 1 1/2 inches. On Shimelle's blog today I have 5 ideas for using strips of patterned paper and I'm sharing one additional idea for strips of patterned paper here.
layout using Shimelle's collection by Becki Adams #scrapbooking #Shimellecollection
On this layout I put my border punches to work. I used most of my border collection to work. I just punched away on a bunch of strips, different widths and different lengths. I then adhered them to the background paper. I ruffled the edges a bit so the strips were not laying flat against the page.
I added my title at the bottom and journaling at the top.
The journaling on the layout talks about how sad my niece is when we drop her siblings/cousins off at school. As you can see she's devastated. Even though we've been doing this routine for weeks now she still cries at every drop-off.
Now, you need to hop on over to Shimelle's blog and check out the other 5 projects I created with strips of patterned paper.

Pinterest Inspired Scrapbooking Project

Oh how I love Pinterest! When I was sent this image to work with for a Bella Blvd project I knew immediately what I wanted to do and I knew I wanted to use the Tiny Tots collection.
This image is from Craftsunleashed.com
 With two kiddos in preschool I have already used a ton of this collection. I added a chipboard alphabet as the main decorative element on the page.

It's been a standing joke that the kiddos aren't learning anything at preschool. They both come home with tons of projects, activities, stories, and songs they've done at preschool...yet they both say they haven't learned anything. Silly kiddos!
The Tiny Tots collection is now in stores. You'll LOVE it, I promise!

Tuesday, September 23, 2014

Scrapbooking Process Video

Hello! Welcome to Lets Talk Tuesday. Today I have two projects to share with you, both projects are featuring the new Home+Made collection by Pebbles. The first project is the one you'll find here (and on my you tube channel).
This collection has the most amazing elements. I think you'll love what I have to show you in this video.


The theme on the Pebbles blog is sweater weather. I created a project about my love for cardigan sweaters and books. You can find that project on the Pebbles blog.  
Thank You for coming today! I hope you enjoy the video.

Sunday, September 21, 2014

Life at Our Home

When I read other blogs my favorite post are those that give me a glimpse into the bloggers life. I love learning about other people. It's nice to know who is really behind the words and photos. Today, I thought that I'd give you a little insight into life at our house.


I'd like to tell you that things are going super, fantastic, and nothing is ever wrong or out of place. Maybe I wouldn't like to tell you that. It's never fun to hear that everything is "perfect." I've mentioned before that I was diagnosed with Ankylosing Spondylitis just over 2 years ago. Most of the time things go well. I do well on my medication and other than a little soreness and tiredness I don't think much about it. For the last couple of years when Fall has come around things have changed quite a bit. (The cooler weather is the culprit). I get a lot more tired and a lot more achy, which makes me a lot more cranky (and it turns me into a poet too apparently, LOL). Things that usually run pretty well around our house start to run a little less smoothly.

The kids started school and I did well for a few days. Then, I got hit with a flair-up and I've really been struggling, we've all been struggling actually. I've been able to do the very basics...and I mean VERY basics. I take the kids to school and I pick them up. That's about it. I don't cook, I don't clean, and I don't do laundry. I spend my time either on the couch or in bed, some days are better than others. After my diagnosis my husband rearranged his work schedule so that he goes to work earlier and comes home when the kids get out of school. This schedule has saved our little family; especially lately. Lately when he gets home from work, I go to bed. Yes, it's only 3:30 or 4:00 in the afternoon when he gets home but that's when I've needed to get some extra sleep. When my A.S. flairs up I need lots of sleep sometimes 14 hours a day of sleep. For the most part I've been able to keep up with my scrapbooking committments. Most (actually all) of my recent projects have been done either in my bed or while I'm laying on the couch. I'm so grateful for a great husband that picks up the slack when I'm not well. He does amazingly well at keeping our home up and running. Even with his help it's not been a great 3 weeks for our little family.

Other than momma not feeling well the kids are doing really well. They LOVE school and are so excited about their new friends, classes, and teachers. The two older kiddos have started taking music classes at school. We're now a family with a flute, a violin, a guitar, and a piano. They're so excited to be playing their instruments and can't wait to share each new note or technique they learn. The little man started preschool. If you follow me on Instagram you'll see that I've had a hard time letting him go...he's my baby. I only cried on the first day I dropped him off, since then it's been all smiles at preschool drop-off and pick-up.


So, there's the long version of why things may seem a little different here on my blog. I'm trying my best to keep up and as of today I'm feeling better. Not completely better but enough better that things are starting to return to normal. I'm going to bed at 8:00 now instead of 4:00 (that's a pretty big deal). I started a new treatment on Friday that I hope will make things significantly better. It takes a long time before I will see any change in my symptoms but I'm hopeful that I will see a positive change.
 

I am working on a couple of projects behind the scenes that I'm excited to share with you in the coming weeks. There are some fun holiday projects, fabric projects, some DIY home projects, and videos that I know you'll love.
Thanks for hanging in here with me. There are better days ahead...have a great Monday!

Wednesday, September 17, 2014

Fall Cards

Hello!Today I'm sharing with you a card set I created using the "A Perfect Autumn" collection by Carta Bella. This is my first project as a Carta Bella designer. I always have a little bit of nervousness and apprehension when starting a new design team commitment. I get a little nervous working with new people and new products. I will say that I'm thrilled with Carta Bella! I love the collections I've been sent to work with and can't wait to show you more of their products.
 The "A Perfect Autumn" collection has a unique characteristic compared to other Fall collections that I love. This collection has a white base instead of a cream colored base. I love the combination of white with the rich colors of Fall in this collection. Having a white base with Fall colors gives any project a crisp fall feeling.
Fall Card ideas by Becki Adams

I used the Pumpkin die set, the Autumn Frame die set, and a designer label die set. These dies rose to the top of my favorites list so quickly. They make beautiful clean cuts and the die cut comes out of the die so easily!

Fall Card ideas by Becki Adams
I used the A Perfect Autumn 6x6 paper pad and some white cardstock create all of these cards. Did you know that the Carta Bella 6x6 paper pads have prints on both sides of the paper. I love that! It makes creating cards so much easier (not to mention that it's fun to have a choice of which side of the paper to use).
BLOGGER TEMPLATE BY DESIGNER BLOGS