For the longest time I've wanted a big family photo to hang in my living room. I'm sure you know that a big family photo usually comes with a big price tag. Finally, I decided that I wasn't going to wait anymore and I was going to create a big family photo to go in our living room. It started a few months ago with us taking a family photo ourselves. We took the tripod and several pose ideas that I found on Pinterest. My husband and I staged the photo following the poses that I had pinned and we used the timer and once everyone was in place my hubby ran, hit the shutter button, and then ran back into place. A lot of the photos we took weren't ones that we wanted to hang on the living room wall but we did get one good one.
With that good photo I headed over to the
Tiny Prints website and ordered a 16x20 canvas. I was a little bit nervous about the quality of the canvas. I'd never ordered a canvas before and I knew that if the canvas wasn't high quality my photo would look terrible. My worry was unnecessary. When the canvas landed on my doorstep I was so
excited thrilled with how it turned out! I couldn't wait to finish the project.
I enlisted the help of my husband to build a frame for me. (You could easily purchase a
Picture Frame
and eliminate the building process in this project.) I wanted to have a 4" 'mat' around the canvas print, so first he made a flat frame with outside dimensions of 27-1/4" x 31-1/4" using 1" thick x 1-5/8" wide lengths of wood. Once this was built, he attached 4-1/4" crown molding to the flat frame, leaving 1" of the flat frame showing on all sides. The back of the frame was made from a piece of 1/4" thick material (either MDF or Plywood will work). This piece was temporarily nailed into a 1/4" groove cut into the backside of the flat frame to hold the entire frame square while the glue dried. Once this was done, he puttied the holes and joints and then finish sanded the whole thing.
Once he was finished building the frame he also painted it for me (he's the BEST! I don't know what I would do without him!). He painted it a dark chocolate brown first
and then painted it with 3 coats of an off white paint. He distressed the edges a little bit. It was at this point that I got excited *really* excited.
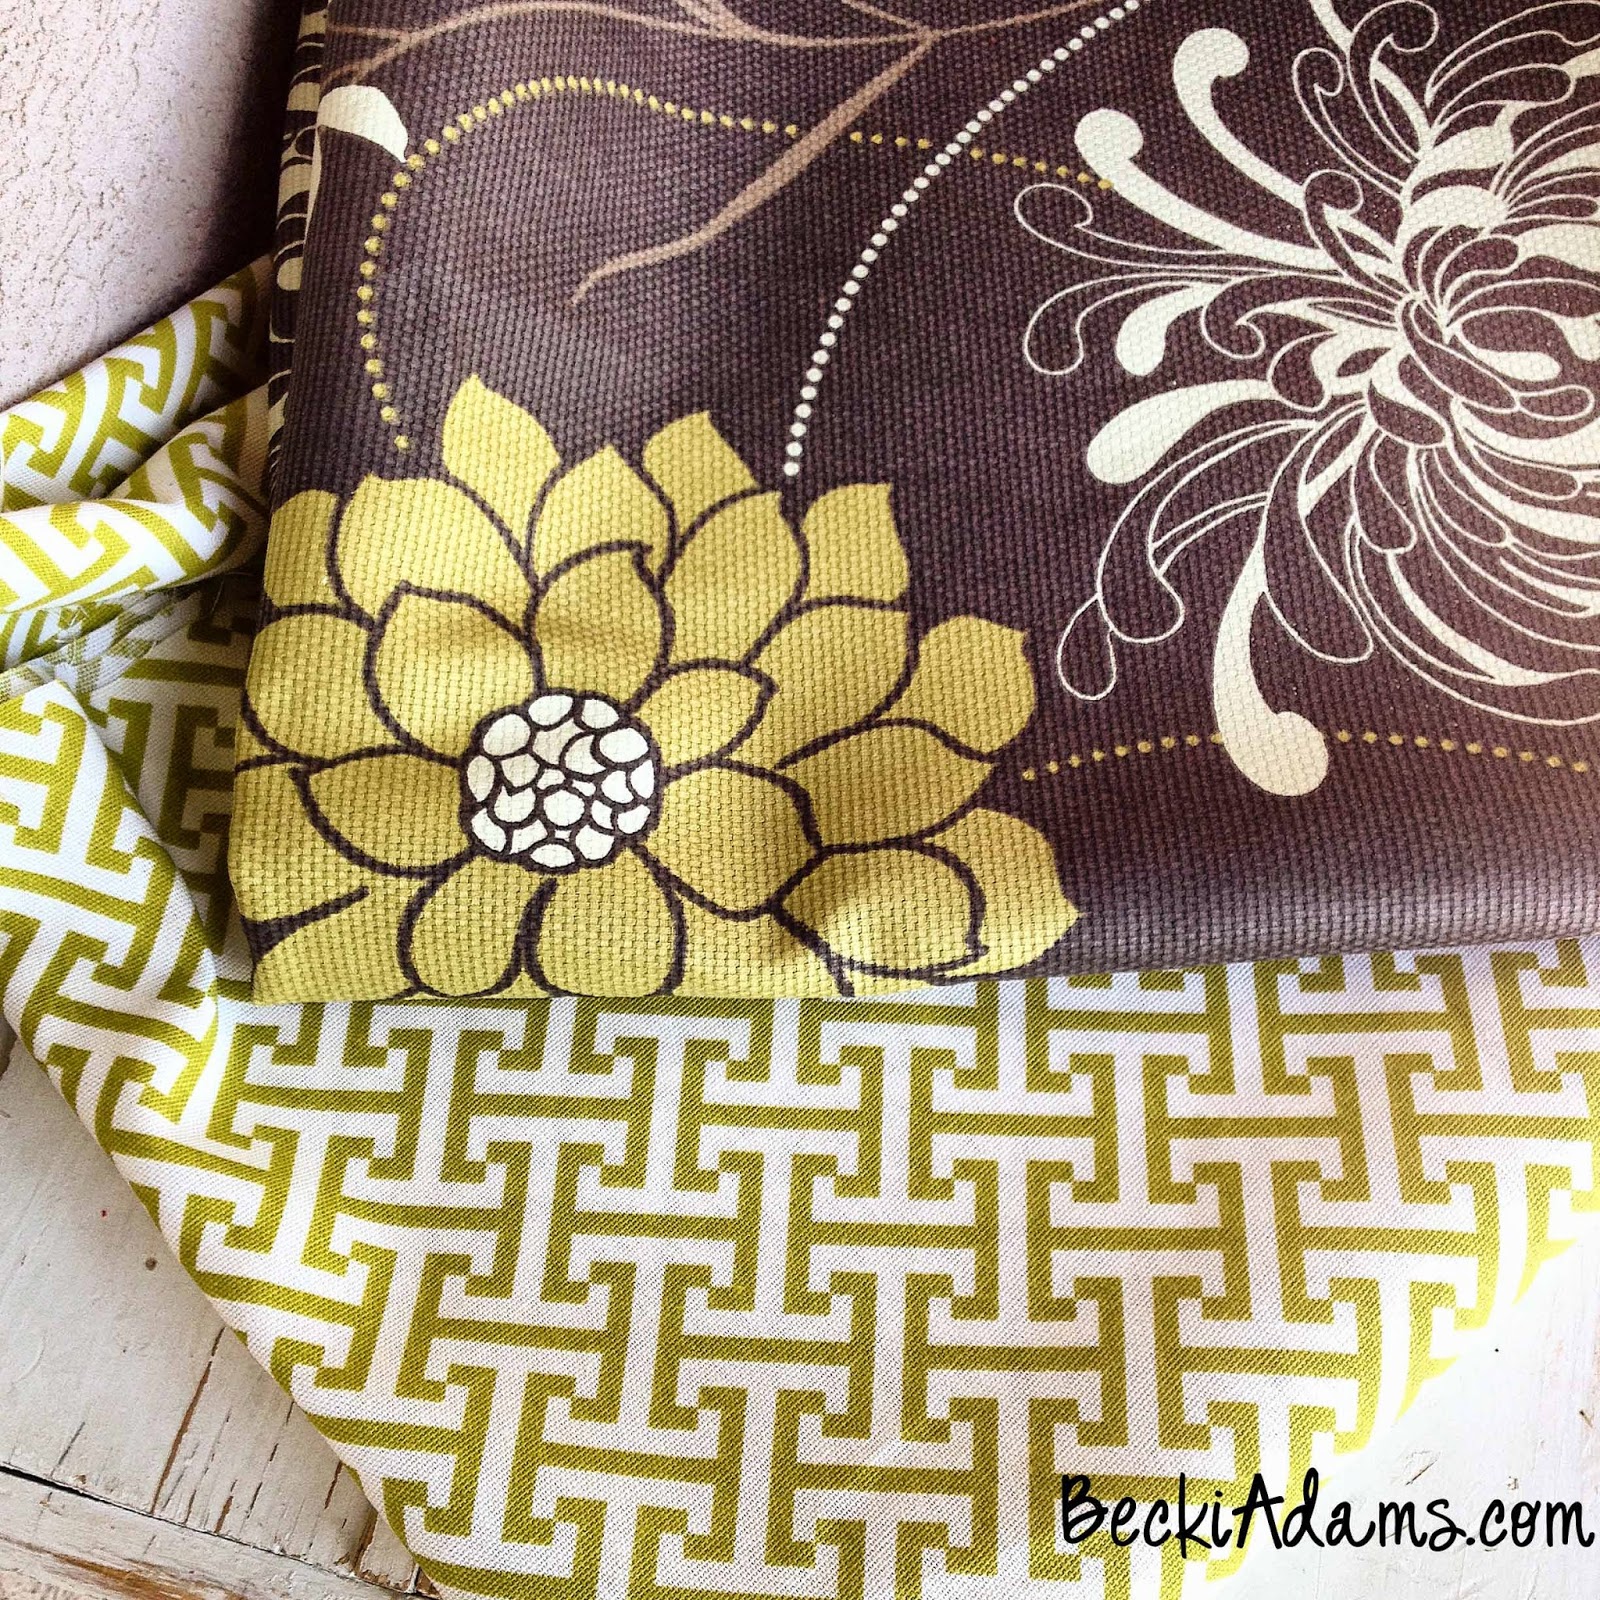
I took the canvas with me to a local discount fabric store that sells tons of decorator fabrics for cheap. (I could spend hours in that store, it's my go to spot for decorator fabric.)
I only paid $7.99 a yard for really great quality, beautiful fabric. I actually bought 2 pieces of fabric and had a really hard time choosing which fabric I would use for this project. (I will use the other one in a future project.)
I even enlisted the help of my
facebook and
instagram friends to help me make the choice. I thought about using both fabrics, but in the end I decided to finish the project using just one fabric.
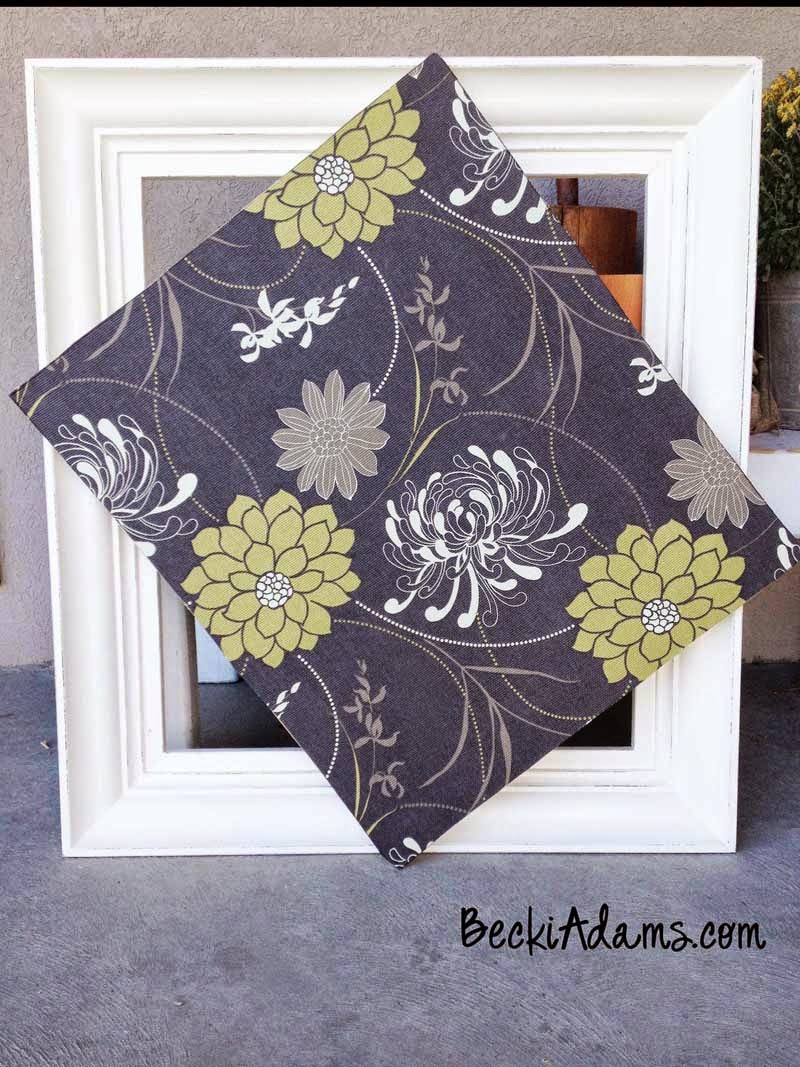
We adhered the fabric to the back of the frame with
spray adhesive
and then adhered the back board to the back of the frame.
*Tip: Make sure to spray the fabric AND the back of the frame with adhesive and let it dry for a few minutes before sticking them together.
After we glued the fabric to the back of then we attached the back to the frame with 18 gauge pin nails.
And with the the project was finished...I LOVE love LOVE it! It makes me smile every time I walk into my living room.
It seriously makes me so happy!


This looks awesome! Such a cute idea! :)
ReplyDelete<3 Thank you, Mendi!
DeleteThe floral fabric looks amazing behind your photo! I love that your frame is so big!
ReplyDeleteDon't you love the floral fabric??!? It just pulled the whole project together. Thanks, Amanda!
DeleteBeautiful!! :)
ReplyDeleteThanks, Wendy Sue!
DeleteWow - really turned out cool!! Love the photo - so good!!
ReplyDeleteThanks, Taunya! I love the photo too! It seems like I a miracle that we actually have a family photo hanging on the wall in our living room...finally!
DeleteFabulous looking portrait! Thanks for the idea :)
ReplyDeleteFABULOUS portrait and frame Becki!!!
ReplyDeleteLOVE how it was a family affair, from taking the perfect photo to building the frame too :)
THANK YOU for sharing your detailed tutorial as well, I dream of having a beautiful piece like this on our wall one day!!!
This turned out stunning Becki!
ReplyDelete