Showing posts with label Lets Talk Tuesday. Show all posts

Tuesday, February 24, 2015

Lets Talk Tuesday Recap

Hey there friends, I've had an exhausting few days consisting of working at a flower shop for the Valentines Day rush, lots of school board meetings, and not a whole lot of sleep. I apologize for not having a Lets Talk Tuesday post last week. I've had so many things going on and I've neglected my blog. I had planned to to do the full reveal of my little girlies scrapbooking themed birthday party but I haven't put the time into it that I feel like it needs. I'll get it finished up and posted soon.

Today, I'm going to link you to a few links to past Lets Talk Tuesday posts (similar to the recap that I shared, here) that you may have missed. Lets get started!

Not to long ago I posted the January Design Guide. I'm excited for this new series on my blog. The first design guide has gotten rave reviews. I can't wait to share February's Design Guide next week. In the mean time you can check out January's Design Guide that features this layout with the supply list, sketch, and step by step instructions for completing this project.
 Another popular Lets Talk Tuesday post is the "61 Everyday Page Titles" post. This post also includes a printable list. I'm always drawn to titles of layouts, the titles that others put on their layouts often inspire me to document my story that is similar to theirs. I hope this list will provide you with a little bit of inspiration.
http://beckiadams.blogspot.com/2014/06/lets-talk-tuesday-61-everyday-page.html
The very first Lets Talk Tuesday I did is still one of my very favorites. It's the one where I showed you several different projects about working with Lines. 
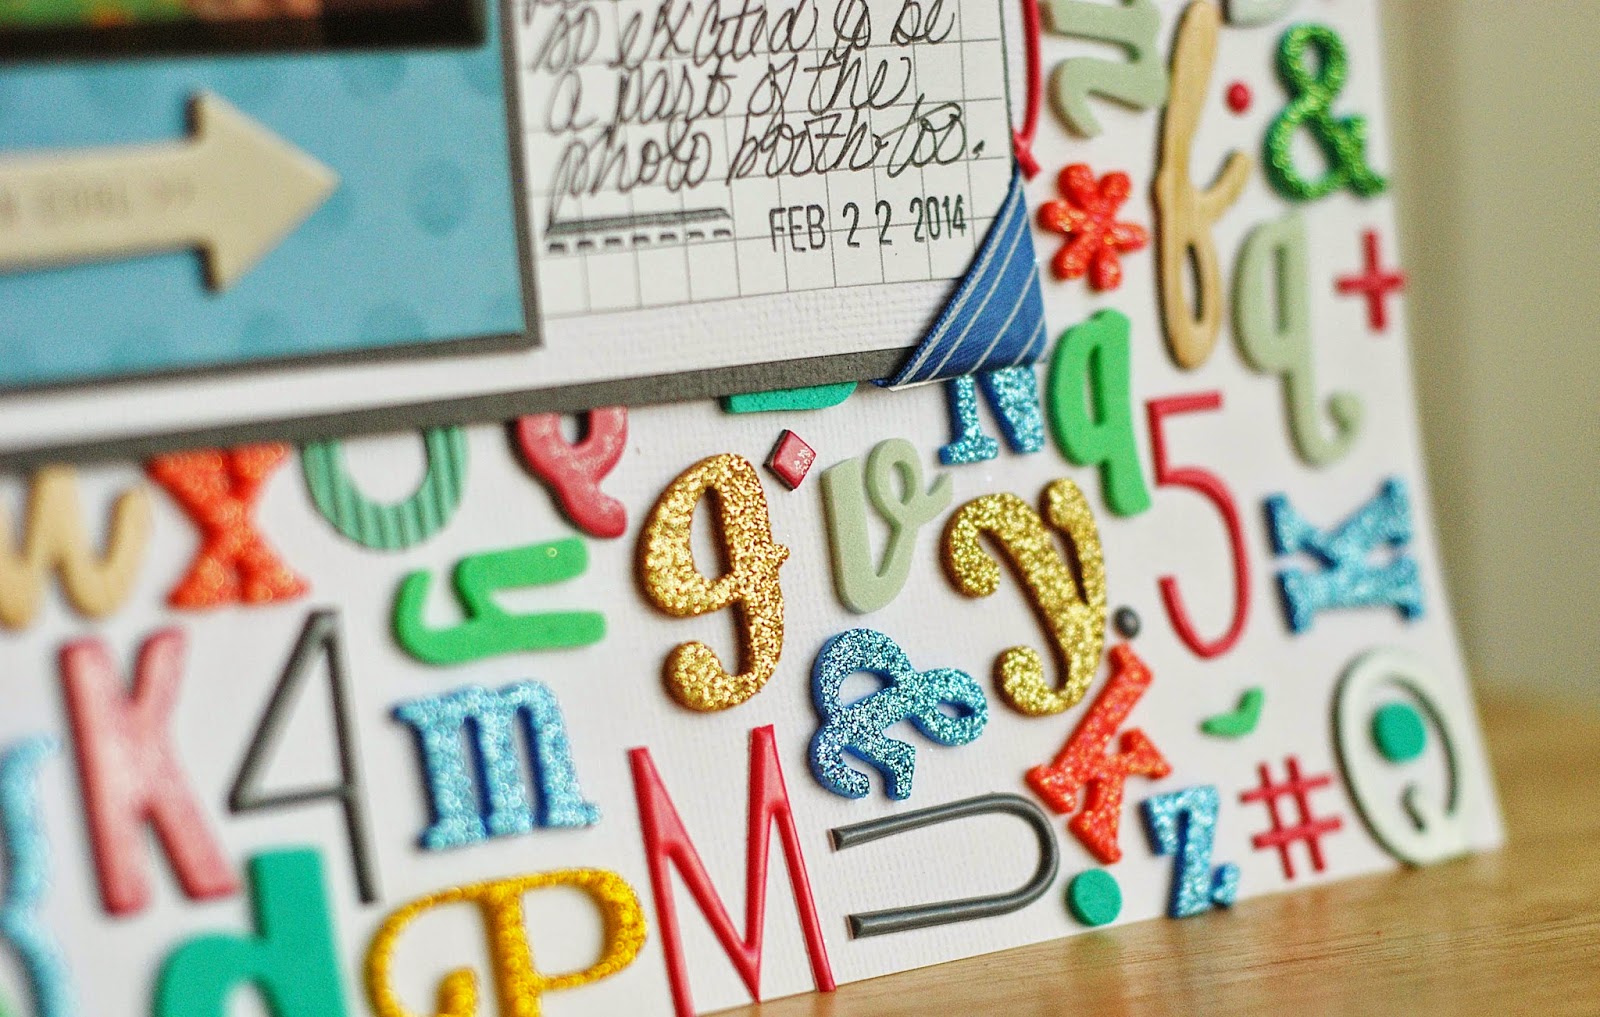
One of my favorite layouts is the one titled Mustache Smiles in the post "Using ALL of your letter stickers" 
Stay tuned for lots of fun stuff that I have coming up.
Have a happy Tuesday and a great week!

Tuesday, January 27, 2015

January Design Guide

A step by step instruction sheet including supplies, photos, a sketch to create this layout by @jbckadams #scrapbook #scrapbooking #papercraft #scrapbooksketch
With the start of 2015 I set some goals for my blog. One of those goals is to bring to you more specific instructions, supply lists, and sketches. I'm excited to bring you monthly Design Guide starting with January. I will have a new design guide each month.

In these design guides you'll find:
  • completed layout
  • a supply list
  • a sketch
  • step-by-step instructions (including measurements)
I'm hoping these will be a great resource for all of you and that you'll look forward to them each month.

This is the layout I created for the January Design guide:
A step by step instruction sheet including supplies, photos, a sketch to create this layout by @jbckadams #scrapbook #scrapbooking #papercraft #scrapbooksketch

I used the Bella Blvd Max collection to create this layout. This collection is a little bit older but I love it! It's perfect for boys of all ages.

A step by step instruction sheet including supplies, photos, a sketch to create this layout by @jbckadams #scrapbook #scrapbooking #papercraft #scrapbooksketch

A step by step instruction sheet including supplies, photos, a sketch to create this layout by @jbckadams #scrapbook #scrapbooking #papercraft #scrapbooksketch

A step by step instruction sheet including supplies, photos, a sketch to create this layout by @jbckadams #scrapbook #scrapbooking #papercraft #scrapbooksketch

A step by step instruction sheet including supplies, photos, a sketch to create this layout by @jbckadams #scrapbook #scrapbooking #papercraft #scrapbooksketch
And here's the design guide: You can download it HERE so you can print it.
A step by step instruction sheet including supplies, photos, a sketch to create this layout by @jbckadams #scrapbook #scrapbooking #papercraft #scrapbooksketch
You can also get a copy of the sketch HERE
A step by step instruction sheet including supplies, photos, a sketch to create this layout by @jbckadams #scrapbook #scrapbooking #papercraft #scrapbooksketch


I think that's everything. I'm really excited about these projects. Let me know what you think and if you would please share them with a friend I would appreciate it. Also, make sure you're signed up for my newsletter so you'll know when a new design guide goes live.


(This post contains affiliate links, by purchasing items through these links you will not pay more for any of the items I will just receive a small percentage of the sale. These affiliate links help to keep my blog running and to support my family.)     

Tuesday, January 20, 2015

Photo Storage Idea

 We're well on our way into 2015. I'm excited to share with you a photo storage idea for Lets Talk Tuesday.
Photo storage tip by @jbckadams Becki Adams #scrapbooking #papercraft #photostorage
 I'm  hoping this may help some of you keep your 2015 memory keeping goals. I can't say that I have a list of goals for my scrapbooking for 2015. I don't really set New Year's Resolutions. For the past couple of years I have chosen a word for the year but that's about it. I set goals throughout the year. I don't think there's any reason to wait until the beginning of a new year. I can, however, share with you my most recent memory keeping goal. "Quality vs. quantity", has been my mantra. I've tried to put my focus on the quality of the memory that I'm documenting instead of just filling albums full of beautiful layouts. With that being said, I have every intention of creating a plethora of beautiful layouts, I'm just making sure that the story that goes with that beautiful layout is there in its entirety. I should also say that when I say I want "quality" memories that doesn't mean I want only good memories or happy memories. That just means that if I'm going to make a beautiful layout I want a story to be there too. As I browse galleries, Pinterest, and Facebook I see a huge amount of beautiful layouts that don't have much of a story behind them (mine included). My goal is to change that for myself and have a story attached to every layout.

We all know that goals don't mean very much without an action plan. Don't worry, I've got a plan for this goal. Most of the photos I take these days are with my phone, similar to most of you, I'm sure. This can be good: more photos in more places, at more events, and more spontaneous photos, it can also be bad: the quality of the photos isn't as good as a DSLR.
My plan includes a fancy notebook (it doesn't have to be fancy though). I prefer a * 5x7 notebook this size fits perfectly in my purse. In fact, any piece of paper will do. You just need something to make notes on. Your phone would work great, if that's how you like to make notes.


I know writing your journaling in a notebook kept in your purse isn't anything new but for me I would always forget to put the journaling and the photo together. My goal is to connect the two. If I have the journaling and the photo together when I sit down to create I feel like I've already won half of the battle. So I'm going to tear the journaling out of my notebook and tape it to the back of the photo when I print the photo. Then I'll add the photo to the small plastic basket that is waiting to be scrapbooked next to my desk.
Photo storage tip by @jbckadams Becki Adams #scrapbooking #papercraft #photostorage
 I'm hoping that by adding just the one little step of taping the photo and journaling together that I will get more meaningful, quality stories in my albums. After I tape (or paperclip the photo and the journaling I put them the basket.
Photo storage tip by @jbckadams Becki Adams #scrapbooking #papercraft #photostorage
 What do you think? Do you have Memory Keeping Goals for 2015? Is this photo storage idea something that may work for you too?
 

Tuesday, December 16, 2014

Titles Die Cut into the Background

Christmas preparations are in full swing at our house, that's why it's been really quiet here on the blog. We're running from school events to church events and doing a little bit of shopping here and there. (I'm *almost* done shopping...not even close on wrapping though.) I'm looking forward to having the kids home from school for a while throughout the holidays. We're going to spend lots of time baking, reading, watching Christmas movies, and spending time with family. Now, if only my Mr. had a few extra days off work... 
While I taking it easy a few days ago I was very slowly working on some projects for Elle's Studio (they were supposed to be revealed on the 10th, oops!). For my last month working with Elle's Studio I decided I wanted to do my three projects with my titles die cut right into the background of my pages. This technique works best when you have a title that isn't very long and you use a blocky font.
 I cut "Cowgirl Princess" out with my Silhouette and outlined it with a black pen. I then placed a piece of red patterned paper behind the white cardstock...and I had an easy peasy title!


This next project is a little bit different because I used 2 fonts. I used a script font for part of the title and I used a blocky font for the main word in my title.
 If you're going to use this technique with a script font make sure the title is short enough that you can cut the letters in a large size.
 Instead of putting one solid sheet of patterned paper behind the "ROLL" portion of the title I put several strips of patterned papers behind the white cardstock.
 This last project was the most difficult. I did a lot of welding and very carefully placed the words in the title on this one. I wanted to make room for the embellishments on top of the white cardstock. I used a script font and a blocky font on this one too.

 Isn't that an adorable little tree? It's a cut file from Elle's Studio. You can find it HERE. I cut the tree out of green patterned paper and added a few enamel dots to make ornaments.

I love how my background die cut titles turned out. It was an easy (and inexpensive) way to make a big impact using only patterned paper and cardstock. Do you have an easy way to make your titles stand out? I'd love to hear your ideas.

Tuesday, December 2, 2014

Thanksgiving Projects

Thank you for being patient as I took last week off of "Lets Talk Tuesday" to spend some time with my family that was here for the Thanksgiving holiday. We had a wonderful (and BUSY) week. I was reminded why Thanksgiving is my favorite holiday, it's all about family and food. I LOVE it!

Today, I thought I'd share some of my favorite Thanksgiving projects with you. This album I did for Bella Blvd and Paper Issues. It's one of my very favorite mini albums. It was a lot of work and a lot to keep up with during November but as I look back through the album I realized how much it captured about our life at that time. You can find the full post about this album HERE.
When I created this layout for Bella Blvd I was worried about how it would turn out. The design was a little bit different than my usual style and the photo was less than stellar. In years past I didn't take as many photos. (I remedied that situation this year, with 2 Thanksgiving dinners and having a week with all the cousins here I took about 200 photos.) I won't be searching for Thanksgiving photos anymore!


I used a lot of the * Bella Blvd Thankful Collection. (One of my all time favorite collections, uh, it is a Thanksgiving themed collection, of course I'm going to LOVE it).

The next project is using a newer collection by Bella Blvd the * Hello Autumn Collection. It's another awesome collection. It's not entirely Thanksgiving themed but it has a lot of Thanksgiving themed elements.


We have a tradition in our little family (doing it two years in a row classifies it as "tradition", right?) of taking a few family photos on the front step as we walk out the door to go to Thanksgiving dinner with our families. This last project showcases a few of the photos we took on our front step.
 

 I'm sure that you're an awesome photo taker and that you'd never forget to take photos of Thanksgiving events. Is there a time you've forgotten to take photos that you regret?
(This post contains affiliate links, by purchasing items through these links you will not pay more for any of the items I will just receive a small percentage of the sale. These affiliate links help to keep my blog running and to support my family. Affiliate links are shown with an *)
BLOGGER TEMPLATE BY DESIGNER BLOGS